There’s never been a better time to set to work on your own campervan conversion. With ‘staycations’ becoming more and more popular, we’ve seen a huge increase in demand from adventurous souls excitedly transforming their vans into amazing holiday homes on wheels.
The Kiravans mission is to design and source better kit, to help you convert your van with confidence. We have created a whole host of van conversion video tutorials, which means that you can build your dream vehicle at a fraction of the cost of buying an already converted camper.
Basic DIY skills are enough to get you started and we only stock van conversion parts that we have total confidence in. This is backed up by our three year guarantee and ‘no-quibbles’ returns policy.
Choosing to convert your own panel van not only saves you money, it also puts you in the driving seat when it comes to planning and design. You may want to create a functional family van with tons of clever storage... an adventure van with loads of room for your sports gear... or a perfect relaxation space just for one or two. You can kit out your van exactly how you want it with flush fitting privacy windows, a crash tested bed-seat, cooking facilities, dining area, solar panels, LED lights, clever storage & even onboard heating.
Stage one for a lot of people is fitting van windows. How many do you want and where do you want to place them? Installing bonded privacy glass is the best way to transform your dark tin box into a fantastically light and airy space. Windows frame the awesome views you’ll enjoy on your adventures, with the added bonus of making driving easier and safer.
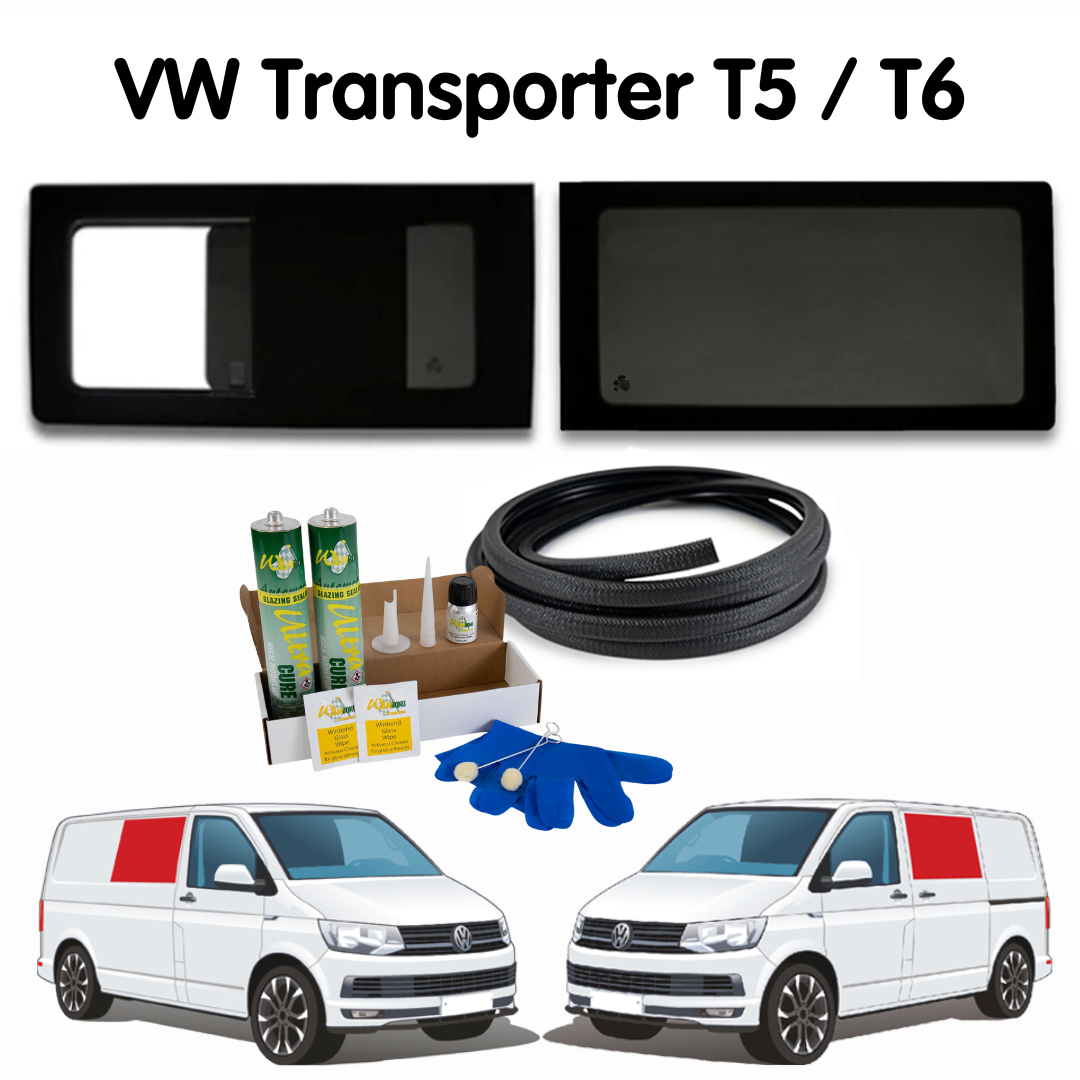
Kiravans stock a comprehensive range of bonded campervan privacy windows for VW Transporters, Renault Trafics and Ford Transits. Once you’ve chosen your windows, don’t forget to add the appropriate number of window fitting kits you will need. Read on to find out more...
Campervan window fitting kits
Our collection of Kiravans campervan window fitting kits contain everything you need to fit your bonded van windows. Contents include adhesive, primer, dabbers, surface & glass wipes and even a pair of disposable gloves. You can choose to have your kits bundled together with U-Profile window edge trim too, so you get a really professional finish.
Our fitting supplies can be ordered individually or you can enter how many windows you plan to install and we’ll do the hard work for you and make sure you have everything to complete your window fitting with confidence.
So, here’s a low down on our window fitting products...what we recommend... and why...
Winbond Ultra Cure is a high quality, moisture curing, high modulus polyurethane adhesive. It is our preferred product for automotive glass bonding applications like windscreens and van windows. It comes in a handy cartridge and can be applied with a normal mastic gun to either the glass or vehicle bodywork. This effective bonding agent offers a driveaway time of 2 - 4 hours and is widely used by professional glazing installers nationwide.
Top Tip! In colder weather, bring your adhesive tubes indoors for a few hours before use to get them up to a workable room temperature.
Winbond Glass/Paint Primer forms an impenetrable barrier against UV-light, which may otherwise destroy PU adhesives. It can also be used as a paint primer to treat newly painted surfaces and prepare them for adhesion. Easy to use, you can apply this primer with a small brush or the supplied felt applicator.

Winbond Activator Wipes are essential for preparing the bonding surface of the glass and will activate the adhesive on contact for a secure bonding experience. The tissue wipes can be used several times throughout the day if you fold the pack over to retain moisture after each use.
U-Profile Edge Trim is used to cover the exposed cut metal edge of the window surround. It is easy to knock on before you bond the glass in place and gives a neat, professional finish. We have two widths of U-profile edge trim - standard and extra wide - as a rule, we recommend using the wider edge trim as it’s trouble-free to fit. It will easily cover both the inner and outer metal skins on a VW T5/T6, so it avoids the need to remove pinch weld.
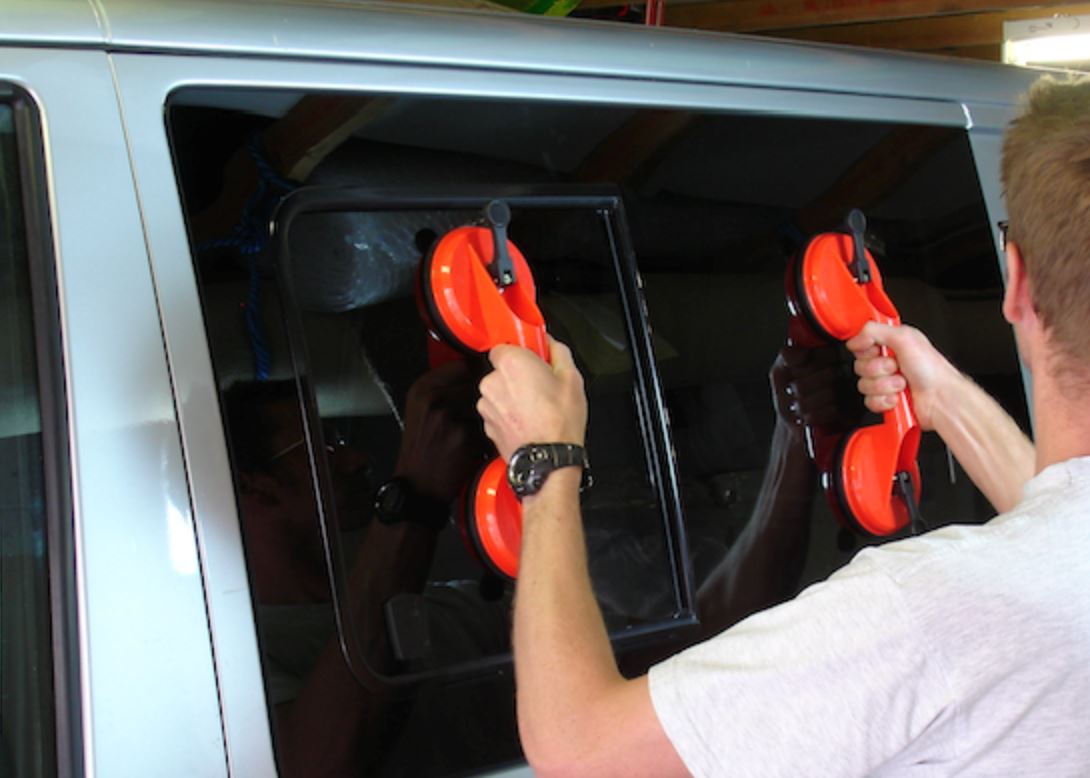
Other handy tools you will need to install your camper glass are a metal cutting tool, mini grinder, glass suction pads, sharp utility knife blades and some non-stretch tape to hold your glass in place while the adhesive sets...if you have these items then you’ll be ready to go.
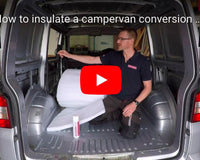
Our aim is to make the job as simple and painless as possible so take a look at our really useful “Kiravans How to Video’ in which Mike takes you through the fitting process step by step and clearly demonstrates how to fit aftermarket van windows. It’s definitely worth a watch because it will give you loads of really great hints, tips and our best advice on how to prepare and fit your custom windows.

